Milky Way Photography Gear Beginners Actually Need
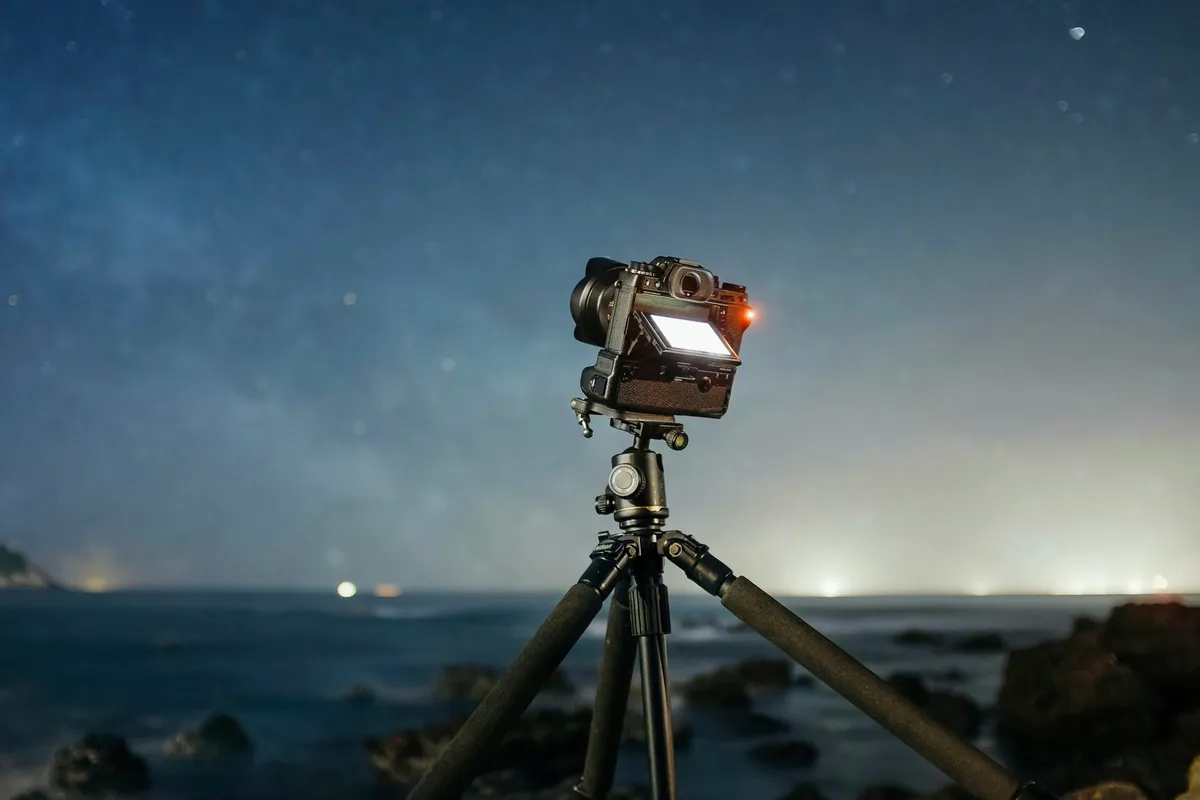
Photo by insung yoon on Unsplash
The Milky Way gear beginners actually need is a manual camera, a wide lens and a tripod that doesn't move. The night you pick matters more than any upgrade.
People ask what gear they need for Milky Way photography long before they ask when the core is up. I understand why: buying a lens feels like progress, and checking a moon calendar doesn't. The gear lists I've read feed that, because they tell you what to buy and never which night to go.
You need a camera you can run in full manual, a wide lens (faster is better), and a tripod that doesn't move. What you can't buy is a night when the core is above the horizon, the moon is down and the sky is fully dark. Find that night first. Then decide whether anything in your bag is actually holding you back.
I've shot frames I still like with a kit lens and a cheap tripod, on nights when the sky cooperated. (If you're brand new to all of this, Capturing the Milky Way for beginners covers the basics first.)
Plan the night before you upgrade the lens
The galactic core has to be above the horizon while the sky is fully dark. The moon has to be out of the way (new or close to it, or set before you start). And you need to be somewhere dark enough that the core has some contrast against the sky. Miss any one of those and it doesn't matter what's on the front of your camera.
So before you spend money, open the free planner, drop a pin on a dark spot you can actually drive to, and look at the nightly ratings. You'll see which nights score well and why. If the calendar shows nothing good for months at that spot, no lens fixes it. Latitude, season and the moon decide that, which is what the best time to photograph the Milky Way guide and the moon phase guide are for.
In late fall and early winter the core isn't up in the evening. In the Northern Hemisphere it comes back as a pre-dawn object in late winter, so the first realistic windows next season are around the new moons of early March and early April 2027, shooting in the hours before sunrise. That leaves the off-season to practice focusing and composing with what you already own.
At Moab, the planner shows a clean dark stretch around the July 3, 2027 new moon, and I've watched monsoon clouds build over that country in July and shut a night down anyway. That's the reason to plan a window of several nights instead of one, and it's how I set up the Moab trip-planning example. If the trip has more than one stop, Premium's Trip Planner lets you put dates on each stop and shows the Milky Way and moon conditions only for the nights you'll be there.
The practical minimum kit
A camera with full manual mode and RAW. DSLR or mirrorless, crop or full frame. You need to set ISO, aperture and shutter speed yourself, because auto modes guess wrong on a dark sky full of points of light. You also want RAW files, since you'll be fixing color and pulling detail out of the shadows later.
A wide lens. On full frame, something in the 14 to 24mm range. On a crop body, about 10 to 16mm gets you a similar view. Faster glass (f/2.8 or wider) helps because you're trying to collect as much light as you can before the stars start to trail. An f/3.5 or f/4 kit zoom will still record the core on a dark night. It'll be dimmer and noisier than a fast prime would give you, but it's enough to learn on.
A tripod that doesn't flex. Your camera has to sit still for 10 to 20 seconds. Any tripod and head that locks down hard and doesn't wobble when you walk around it will do. A thin travel tripod that shakes in a light breeze will soften every star, no matter how sharp the lens is.
Add a headlamp with a red mode, spare batteries (cold nights drain them fast), a way to fire the shutter without touching the camera (a remote, an intervalometer, the camera's own timer or app), and a card with room on it. Stacking several identical frames, covered in the lesson on shooting without a star tracker, is how a lot of beginners get cleaner files without buying a mount.
Camera settings to start from
Treat these as a starting point you test and adjust in the field. Shoot wide open or close to it. ISO usually lands somewhere between 3200 and 6400 on a modern body. Shutter speed depends on your camera and your focal length, and there's no single right number. A wide lens on a full-frame body might get 15 to 20 seconds before the stars smear. A crop body with a kit zoom at its widest will usually want less, often closer to 10 seconds. Use the NPF rule or a calculator for a first guess, then zoom in to 100% on a test frame and shorten the shutter if the stars look like dashes.
Set white balance by hand, somewhere around 3800 to 4000K, and leave it there. Auto white balance can shift from frame to frame, even in the dark, and locking it means every frame matches when you stack or blend them. Turn image stabilization off on a tripod. Focus manually on a bright star or a distant light and check it at 100% before you shoot anything else. Soft focus ruins more beginner nights than the wrong ISO does. The camera settings lesson goes deeper on each control.
What you can skip at first
Skip the star tracker and the expensive ultra-wide for your first core shots, and skip the filters sold for Milky Way work (on most nights, light pollution and moonlight are planning problems, and a filter doesn't fix either one well). If your camera shoots RAW in full manual and handles high ISO without falling apart, keep it.
Then go shoot your first real window and let the files tell you what to upgrade.
- Stars look like short dashes. That's your shutter speed, so shorten it.
- The whole frame is soft, including the foreground. That's usually the tripod or your focus. Check focus at 100% and firm up the tripod before blaming the lens.
- Stars in the corners look like little comets or seagulls. That's the lens. Stopping down a bit cleans it up at the cost of some light, and if that's not enough, this is the problem that justifies new glass.
- The core is dim and muddy, with lots of noise. You need more light. Shoot on a darker night at a darker site, stack more frames, or (if you've already done those) this is where a faster lens or a better high-ISO body earns its money.
- The color is all over the place. Lock your white balance at 3800 to 4000K and fix the rest in RAW.
Fix whichever one actually shows up in your files, then go back to the planner and pick your next dark stretch.
Short answers
What gear do beginners actually need for Milky Way photography? A camera with full manual mode and RAW, a wide lens (faster helps), and a tripod that doesn't flex. Add a red headlamp, spare batteries and a way to fire the shutter without touching the camera.
Can I start with a kit lens or a phone? A kit zoom on a dark, well-planned night will record the core, and it's a fine way to learn. Phones vary a lot, and if yours can't shoot RAW or give you manual control of the exposure, it'll fight you.
What camera settings should beginners start from? Wide open, ISO 3200 to 6400, and a shutter speed set by your camera and focal length (roughly 15 to 20 seconds on a wide full-frame lens, less on a crop body). White balance fixed around 3800 to 4000K, never Auto. Shoot RAW and check focus at 100%.
What should I buy later and what should I skip? Skip trackers, expensive ultra-wides and Milky Way filters until a real problem shows up in your files. Then fix that one problem: the tripod, the lens or the body.
Why plan the night before upgrading gear? The core has to be up, the moon has to be down and the sky has to be dark. A better lens doesn't fix a bright moon or a core that's below the horizon.
Related reading: